John and I are excited to install a nuc, even 12 years after starting our journey as beekeepers.
We have installed packages at 2am, in the rain. We have installed nucs as fast as possible at 10am, because the day was hot, and the bees were dying.
We make a nucs from another hive, to prevent swarming. It doesn’t matter how many years we make nucs, we still feel a thrill when installing a new nuc into a hive for the first time.
When you learn how to install a nuc there are many ways to do it. That is because there are different things to consider depending on the weather, the bees, and the time of year.
When to Buy Your Nuc
Here, in Southern Ontario I would suggest that new beekeepers wait until mid May to pick up their bees. This is because the bees have gone through a lot before you get them. They have survived the cold of winter, the queen is laying or has been replaced with one who is.
Treatments and early spring feeding is done already. Also, your nuc is building up and ready to fill its new hive box.
But, if you want a Nuc in late April or Early may you will probably need to put your downpayment in no later than January. Nucs sell fast. You might see the big suppliers who have multiple dates, varieties of queens available, and various pick up times. 90% of these are gone Mid March. Or, if they are not gone the deposits are being left open ‘just in-case’ someone doesn’t show up for their nucs, or in-case they can make a lot of splits in the spring.
To be sure, we put our downpayments down in December, or January.
Where to Buy Your Nuc
There are several things to take into consideration when buying a nuc. First, are they inspected and licensed in the province of Ontario (or where you live). There are diseases that can devastate your hive. You do not want to pick up a nuc or hive from a local farmer who isn’t inspected.
Inspection is free. The inspectors are friendly and very helpful. And, they are here for you, and the good of the bees.
Do not buy nucs from ‘breeders’ who have been in the business for less than 5 years, or are hobbyists, unless they are a) your friend, b) in your local area.
There is a saying, ‘you don’t know what you don’t know until you learn what you don’t know.’ Many new beekeepers have good success while things are going well, but they haven’t learned how to manage problems, and anticipate what can go wrong.
We sell all across Ontario. But, for new beekeepers we suggest that you buy within a 1 hour drive. This reduces the chances of spreading disease.
Their Queens are Your Queens
New beekeepers are afraid to ask about the queens. There are a few questions you should ask:
- Are the queens post solstice?
- This means that they have been born after June 31, so they have not laid their limited amount of eggs. A queen can last for years, but she can also lay all her eggs in 2 – 2.5 years.
- Is the queen marked?
- This makes it easier for you to find the queen. It also gives you a rough idea what year she was born in.
- How long has the queen been in the nuc?
- Just because you have an overwintered queen doesn’t mean that your queen has been in the nuc for the winter. She might have been caught from a weak hive and put in a nuc made of 2 – 3 other ‘failing’ hives. This is not the nuc you want.
- If the queen has just been put in the nuc, then you do not know if the nurse bees will support her or reject her. This can leave you without a queen. The bees would make a new queen if the beekeeper left them with very young larva (a day or two old), but it sets you back one month.
- If the queen has been grafted or incubator raised then you do not want a 14 day old queen. She does not have enough pheromone. You want a 21 day old queen. The problem is, that costs the beekeeper a lot of money by keeping all the queens for one more week. It also makes it harder for beekeepers who are north of 401 (approximately) to sell early nucs.
You also want to focus on how they add their queens. There is no wrong way, but you will install your nuc differently if you have a ‘shaken’ nuc, or if your nuc has been established for a couple of weeks.
If you are buying from a commercial breeder, you will have great bees. If you buy from a store, or feed mill, then you may have the cheapest bees they can find and shipped out as quickly as possible. This is because no one holds the breeder accountable for their bees.
Also, if you are buying from a breeder or a honey producer who is preventing swarms, then you know the bees are from your local environment. If you buy from a breeder who meets you face to face, you know their imports are from your environmental region.
If you buy from a store you could be getting bees who are genetically bred to thrive in the desert. They will probably not overwinter in Canada.
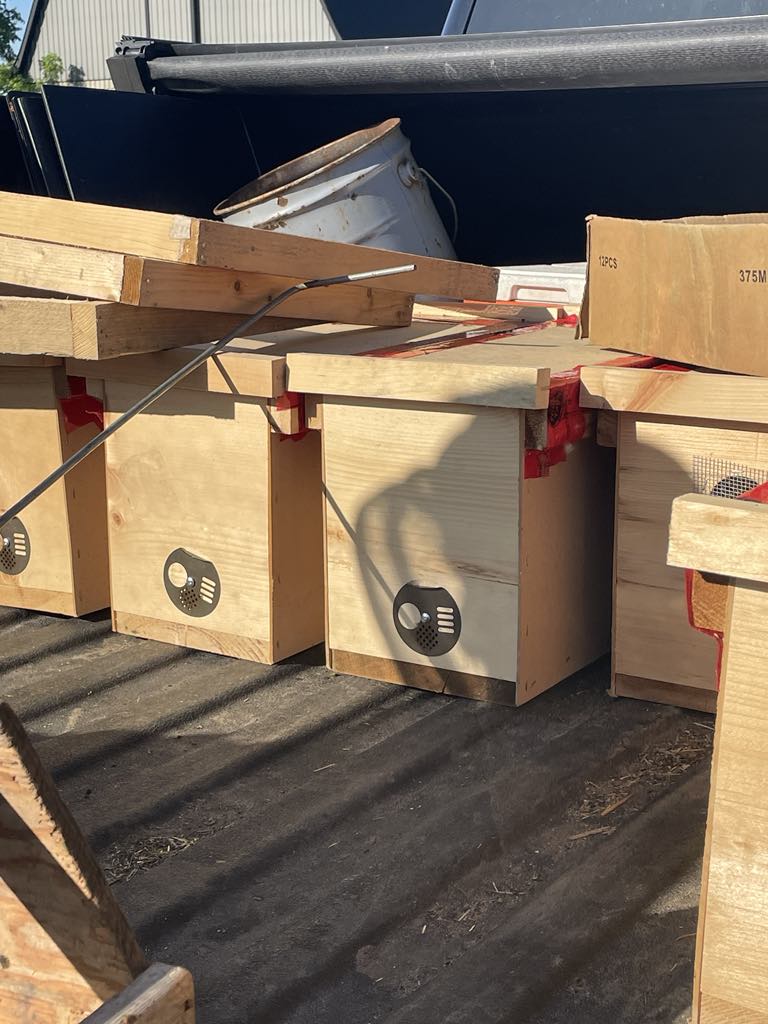
Transporting Nucs Safely
You want to pick your nuc up as early as possible. If the bee breeder says you can come at 6:30, then be the first in line. A nuc is under a lot of stress.
They also have a low tolerance to being in the sun, and heat. Both will kill hundreds of bees in your hive within a matter of minutes – and the queen.
Trust me, I have known the heartache of putting bees in my car (without a temperature sensor) and ‘guessing’ the air conditioning was high enough. It wasn’t, and there were 1 – 3” of dead bees in the bottom of every nuc.
You do not need a temperature sensor when you are picking up 1 – 3 nucs. Just turn the air conditioner on and ‘listen’. You will be surprised how much heat they put out.
We pick up 20 packages at a time, and with the air conditioner on full blast, and ice on the floor, it can take 30 minutes to drop the temperature 1C.
We have picked up packages about 10pm at night, when they come off the plane. And, it is a cold ride home, even though John and I are dressed for a hike through a blizzard 😊
With 1 – 3 nucs in the average car, just crack the windows open, do not turn the heater on. If you are picking them up early May. If you are picking them up when the temperature is over 10C then you may want to turn the air conditioner on.
Picking them up in the early morning also reduces the risk of the sun shining on the boxes. But if you are concerned then get those see through sun guards off amazon that protect children in the back seat of a car. They are enough to keep the sun off the bees.
Feeding a Nuc
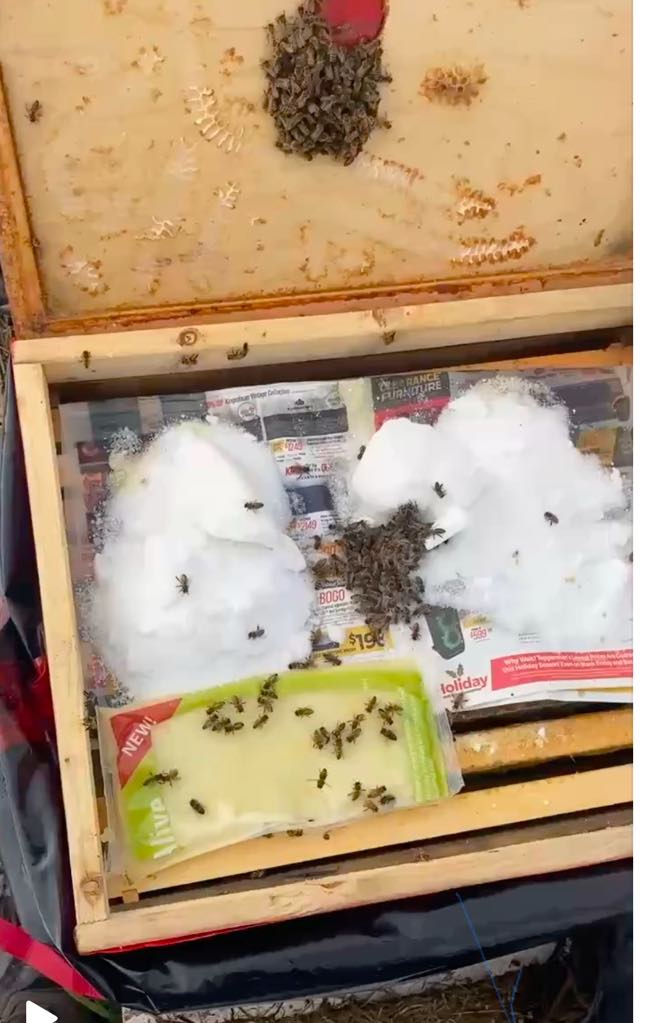
We suggest putting a pollen patty on a new hive and feeding it thin sugar water – 1sugar to 1.25 water. This will promote brood laying and comb building. We find this works better than the standard 1:1 feed.
It is important to feed a new hive, especially if there are few forager bees. Because the foragers also bring in water for the bees to drink.
If you do not give them water, or a thin syrup, the hive will struggle and may start to cut back brood production and even cannibalize your next generation of bees. You will notice this about 3 weeks later when you have almost no bees.
Bees need pollen to make brood. In the first few weeks when the new hive lacks foragers, they also lack pollen. Without pollen the queen may lay, but the nurse bees will follow her and eat the eggs.
If it is early (before April 15) then you want to feed the pollen patty, in-case there is a dearth. This means that cold weather hits, and the bees cannot forage, so they stop feeding the brood and it dies. This can make a mess in the hive.
Installing a Nuc in a Single Box Hive
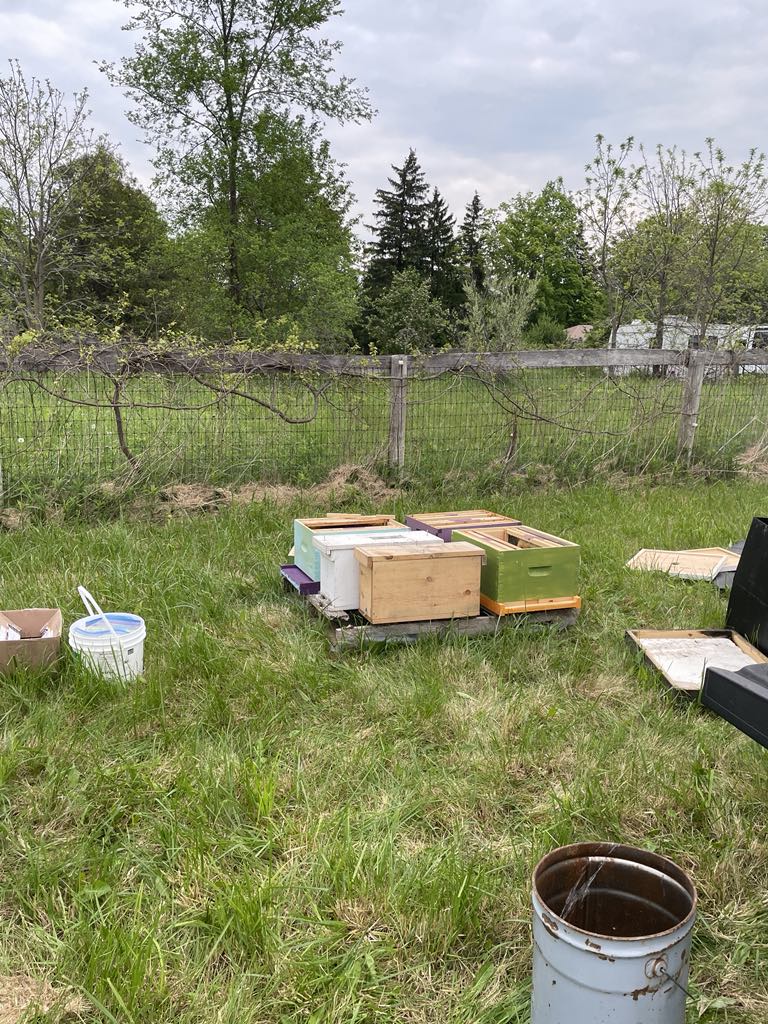
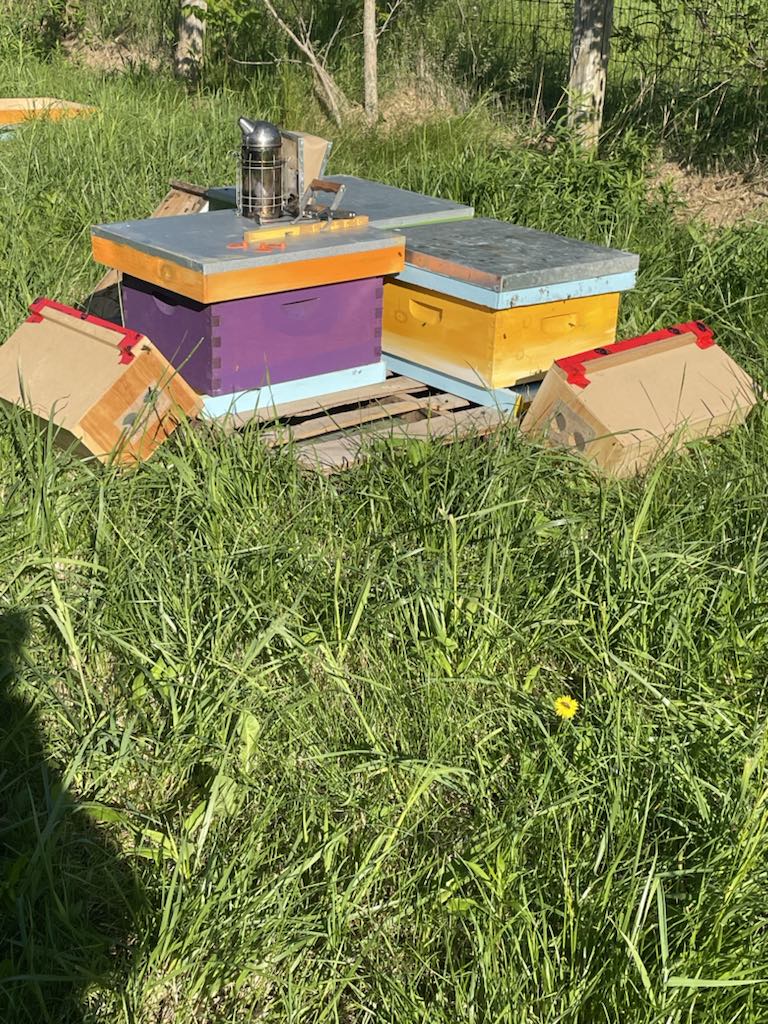
Once you get home, install your nuc immediately. You will have a single box on your hive. Do not use 2 boxes on the hive, or the bees might get too cold at night to raise brood.
If you are getting a hive in late April or Early May, I suggest putting a cozy on the hive. Can they survive without it? Yes. But, they need to stay warm to raise brood and you do not want to lose a generation of bees while waiting for the weather to warm.
Step #1
Get everything ready.
Put the nuc on the ground beside your hive. Make sure the nuc is right beside the hive. If the queen is not caged, you do not want her falling into the grass or flying away. We have scrambled on the ground trying to catch a queen before she flies away, more than once. It isn’t fun, and you risk damaging the queen.
Remove 6 frames from the center of your hive and place them on the stand beside your hive.
If the queen is in a cage, put her in your pocket, or on the bottom board of your hive – just in the entrance, as long as there is no sun on her.
Step #2
Put on your protective gear. If you have a lot of foragers they may fly into your face. They will be angry. If you do not have a cloud of bees flying into your face, but they all sit on the frame, then your nuc has mostly nurse bees.
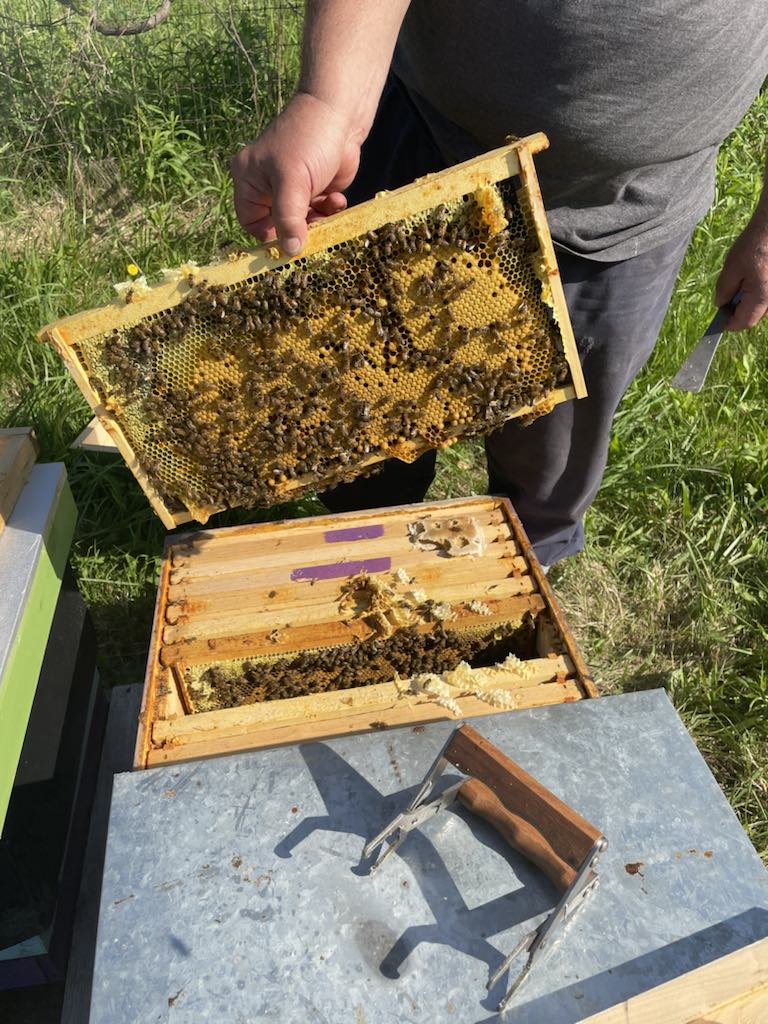
Gently lift the frames out of the nuc, 1 at a time, and put them in the hive in the EXACT SAME ORDER THEY CAME OUT OF THE NUC.
Do not worry if you do not see the queen. The queens hate the sun and will run to the other side of the frame.
Gently put the frames in the hive. Hold them above the hive and lower them straight down. You do not want to roll bees (catch them between the frame and the side of the hive, or between frames.
Step #3
When all the frames are in, gently move the 4 frames together until they are touching. Now, move the foundation frames that came with the hive as close as you can to the 4 nuc frames. This will give you 4 frames of bees in the center, and 2 frames of empty foundation on either side. Now, take the last 2 frames and put them in on the outside edges. You may have to jiggle them to make them fit.
If they don’t fit:
Remove the foundation frames. Gently push the 4 nuc frames tightly together. And then put 2 frames on either side of the brood (nuc) frames and push them towards the center. Then put the last 1 frames in, one on either end.
Step #4
Make sure the queen is in the hive. If you have a queen cage, put it between the center 2 frames. I would leave her there till the next morning. Most beekeepers only leave the queen for an hour or two. They are worried she will die in the cage. If she does, then it was unpreventable. The nurse bees didn’t feed her or care for her. You wanted a new queen anyways.
If you see a clump of bees in a corner of the nuc, the queen might be in there. Turn the nuc box upside down over the center 4 frames and give it a good, firm, shake. Just one shake to help the bees lose footing and fall into the hive.
Look inside the nuc. If there are no clumps, and you do not see the queen, then move to the next step. If you do see clumps, and/or the queen, repeat the shake. I would not use your bee brush. You might sweep the queen right out of the hive, or she may get stuck on the bee brush, increasing the opportunity for her to fly away.
Step #5
Add the feed. I use two methods. I will add a shim, and put the feed on top of the brood frames. Or, I will add the inner cover and put a feeder on top of it.
Once the feed is on then put the hive cover on.
Step #6
Check your upper ventilation hole. The bees need ventilation in the spring. They also will want an upper entrance to exit the hive. Sometimes, when you put the lid on you can shove the shim and inner cover slightly to the side, leaving a gap that predators like hornets can get in. Another problem is that you may push the hive lid backwards and block the upper entrance (vent hole in the shim and or upper cover.)
Step #7
There will still be bees in the nuc box. Lean the box towards the hive, with the opening right by the hive entrance. The bees will smell the queen’s pheromones and walk into the hive.
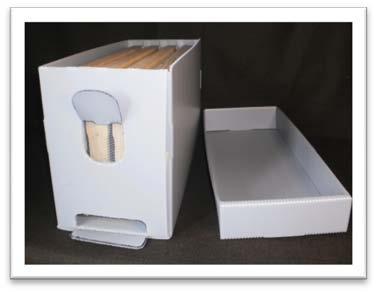
Keep the nuc box. You will need it when doing inspections. It is a great place to put 1 – 2 frames so you have room to work. It is also a perfect place to put a frame you see the queen on. Once she is safely in the nuc box you can inspect the hive without fear.
If you have a plastic nuc box, or a wooden one (not the cardboard ones with the vent in top) you can use it later in the year as a swarm prevention tool.)
Step #8
Grab a lawn chair and a cup of coffee, and relax by your bees.
Do not go into your hive for 10 days.
Do not treat your hive for 10 days.
Step #9
On day 10, remove the lid, inner cover, feeders. There should be a cluster of bees around the center. Lift the outer 2 frames out, and move the foundation frames away from the brood.
Gently lift the frames for a moment and take a look.
- Are the capped bees emerging?
- Has the queen been laying? You probably won’t be able to see the eggs unless you have black foundation and very good eyesight. After a while you will be able to see them. They are small.
- How I look for eggs. In the bottom of a cell the plastic will be made up of 3 triangles. You can see the light reflect off the edges of those 3 lines. If one line is broken, or there is 4 lines, then there is an egg in the hive.
- Are the bees drawing out comb on the empty foundation?
Step #10
If everything looks good, then I would put a formic pro strip on the hive (as long as the days are not hot). Or, you can do an oxalic acid dribble. Both of these are naturally occurring treatments for varroa mites.
Step #11
Inspect your hive every 10 days. If you see more than 6 frames with bees on top, and the temperature is over 15C at night, you can add a second box on top. It is up to you whether you add a queen excluder, or not.
Post tags :
Share :
Latest Post

The Beekeeping Year Starts in August – Part 3 – Preventing Swarms
Buying and Transporting Queen Bees
